
How to Inspect an Apartment Before Moving In: Japan Move-In Checklist & Photo Evidence
Inspect a rental apartment in Japan before moving in with a room-by-room checklist for defects, photos, utilities, equipment, safety issues and move-out evidence.
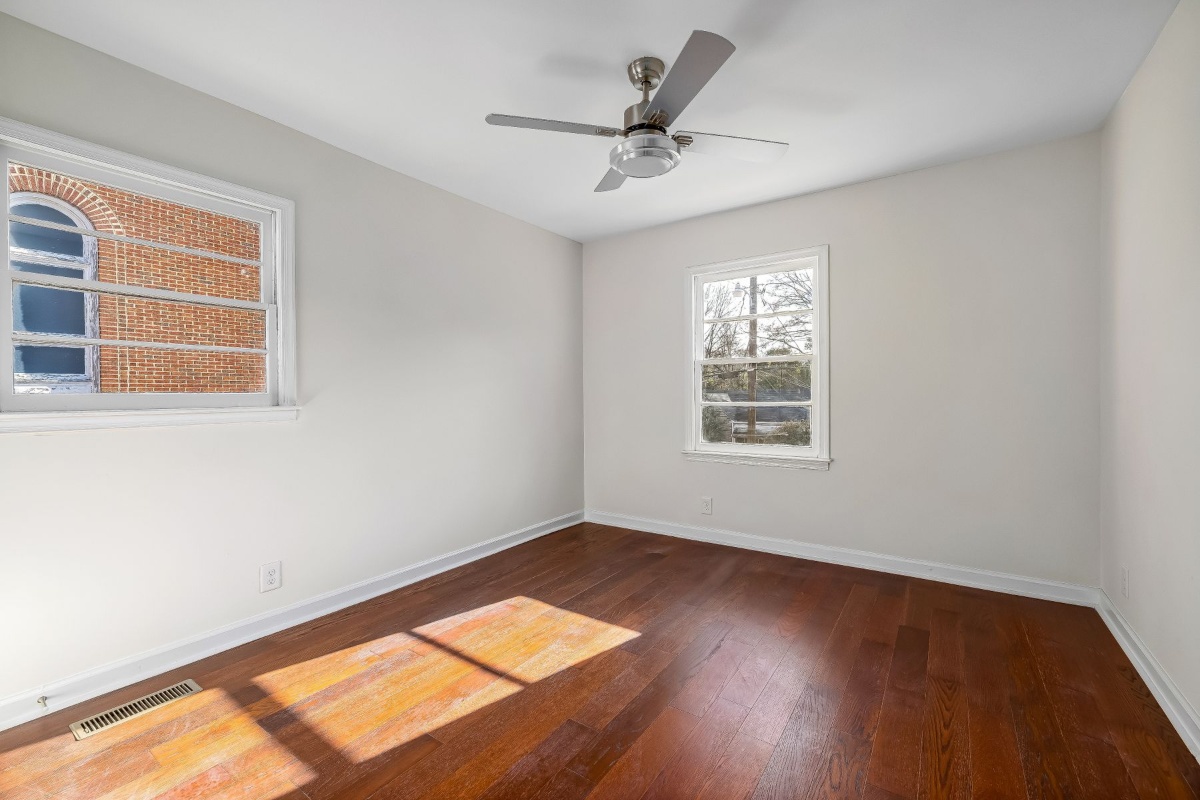
Inspect the apartment as soon as you receive the keys and, if possible, before furniture or boxes arrive. Walk through every room in good light, photograph existing damage from both a wide and close angle, test landlord-provided equipment safely, record the exact location of each defect, and send the completed condition report through the management company’s official method while keeping a dated copy. Do not make unauthorized repairs. Report leaks, gas smells, electrical hazards, insecure locks, broken glass or other urgent problems immediately.
Why the move-in inspection matters in Japan
A move-in inspection does two jobs: it identifies defects that need attention now and creates evidence of the condition you received. Existing scratches, stains, dents, mold, damaged fittings and equipment problems are much harder to prove after furniture and daily use begin.
Japan’s Ministry of Land, Infrastructure, Transport and Tourism recommends checking the property condition at both move-in and move-out and using a checklist together with photographs. Its restoration guidance explains that disputes often arise because neither side can establish when damage occurred.
Civil Code Article 621 distinguishes ordinary wear and aging from damage for which the tenant is responsible. A move-in record does not override the lease or decide every dispute, but it gives both sides a clear starting point.
- Create a dated record before your belongings hide walls and floors
- Separate existing damage from damage that occurs later
- Identify repairs that affect safety or normal use
- Keep the lease and any special restoration clauses with the inspection record
Inspect at the right time and prepare the right tools
The best time is after key handover but before the moving company or furniture arrives. Daylight makes stains, scratches, discoloration, warped flooring and condensation marks easier to see. A second check after dark can reveal lighting problems, noise and exterior light intrusion.
Use the landlord or management company’s condition form when one is provided. Follow its deadline and submission method. If there is no form, create your own room-by-room report and send it promptly rather than waiting until move-out.
- Lease, important-matters explanation, equipment list and move-in condition form
- Phone or camera with enough battery and storage
- Small flashlight
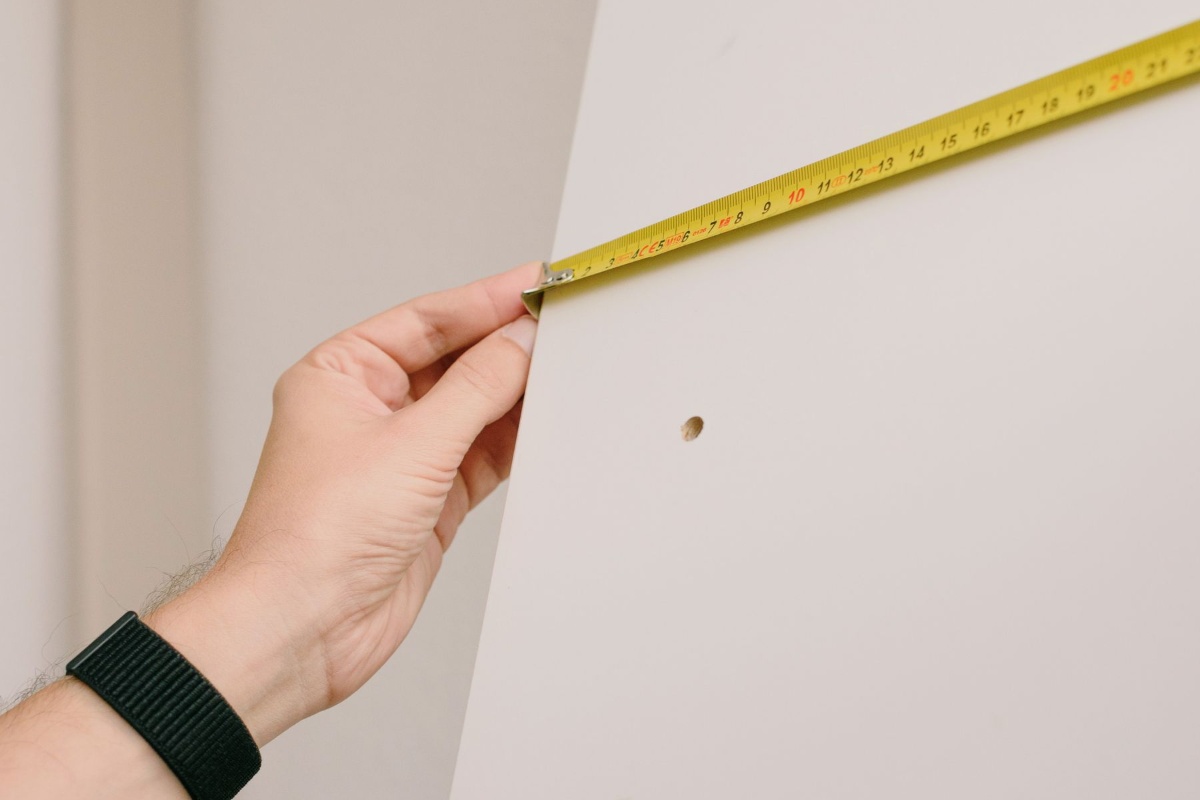
- Measuring tape or ruler for scale
- Pen and room-by-room checklist
- Dry tissue or paper for checking small leaks when safe
Build strong photo and video evidence
Start with a slow continuous walk-through video from the entrance through every room. Then photograph each defect twice: one wide image that proves the room and location, and one close image that shows the damage clearly.
Write down what a photograph cannot show, such as odor, intermittent noise, weak water pressure, a loose fitting, slow drainage or unstable temperature. Preserve the original files instead of sending only screenshots or heavily edited copies.
A useful record names the room, exact location, defect, approximate size, date found and whether repair is requested. Consistent file names make later comparison much easier.
- Wide photo for location
- Close-up for detail
- Ruler or neutral scale reference when size matters
- Original files plus a backup outside the phone
- Written description linked to each photo or video
Check the entrance, locks, windows and security first
Confirm that the entrance door opens, closes and locks smoothly. Check the frame, hinges, latch, chain, peephole, weather seals and the number of keys you received. Test the intercom and doorbell without recording another person’s private information.
Open, close and lock every window. Check glass, frames, seals, insect screens, shutters and curtain rails. On balconies, look at the floor, drain, railing, emergency partition and evacuation hatch without blocking or unnecessarily operating emergency equipment.
A door or window that cannot secure the apartment is an urgent issue. Contact the management company rather than replacing the lock yourself unless you have written permission.
- Entrance door and all keys
- Mailbox and parcel-box access
- Intercom and doorbell
- Window locks, screens and seals
- Balcony drain and emergency route
Inspect walls, ceilings, floors, doors and storage
Use natural light and look from several angles. Record scratches, holes, nail marks, peeling wallpaper, stains, cracks, moisture marks, mold and previous patchwork. Check corners, behind doors, around air conditioners, above windows and near plumbing areas.
Walk the floors slowly. Note dents, burns, deep scratches, stains, lifted flooring, warped boards, soft spots, broken tiles, damaged tatami and loose transition strips. Open every closet, drawer and sliding door and test handles, tracks, hinges, shelves and poles.
Do not confuse recording damage with accepting responsibility for it. If the condition form contains wording about liability or repair charges, read it before signing.
- Walls and ceilings
- Flooring and tatami
- Interior doors and sliding panels
- Closets, shelves and built-in storage
- Signs of moisture, mold or prior repairs
Test the kitchen, bathroom, toilet and water systems
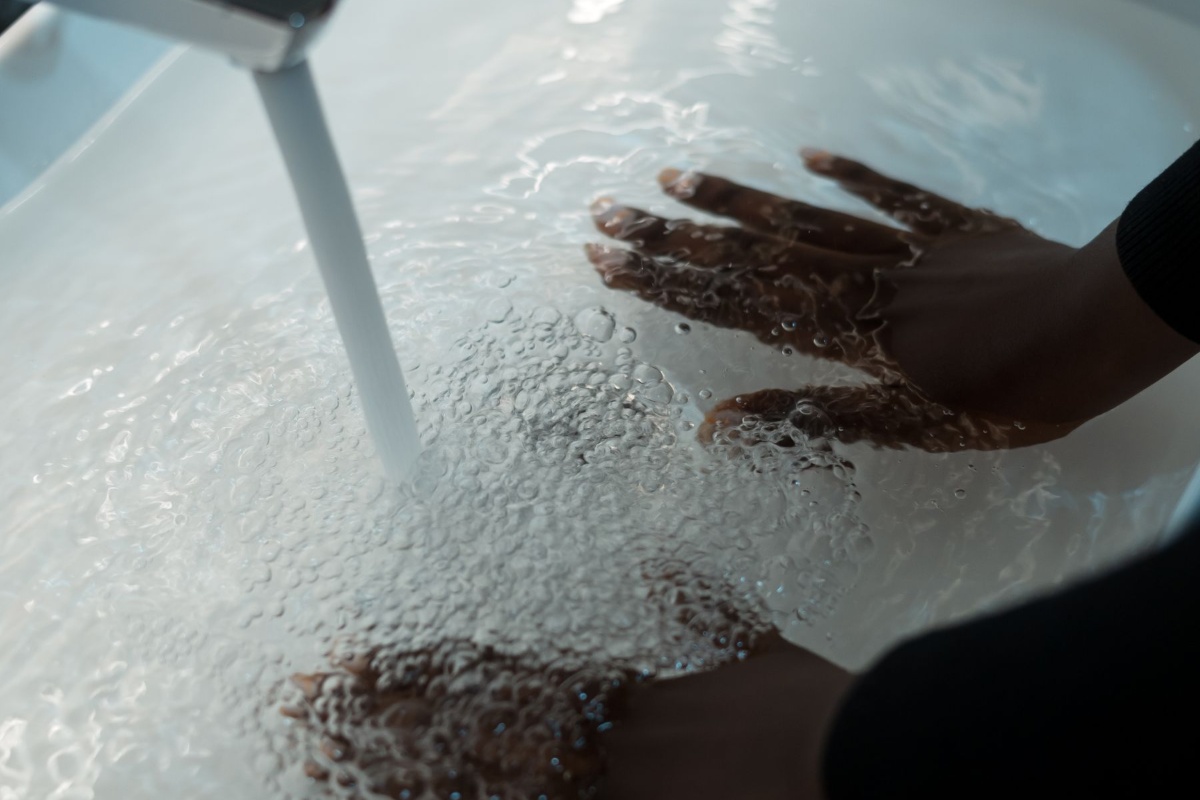
In the kitchen, run water and check the faucet, sink, drain, exposed pipes, cabinet interiors and floor for leaks, corrosion, odor or moisture. Test the range hood and installed equipment only after the required utilities are active and it is safe to do so.
In the bathroom and washroom, check the shower, bathtub, drains, seals, ventilation fan, hot-water controls, washbasin, washing-machine pan, water tap and drain connection. In the toilet, check flushing, the water supply, seat stability, floor, ventilation and any installed washlet controls.
If water leaks during a test, stop the test, protect the floor if this can be done safely, and contact the management company immediately. Do not dismantle plumbing or attempt a repair without authorization.
- Sink and exposed plumbing
- Drain speed and odor
- Hot-water operation
- Bathroom and toilet ventilation
- Washing-machine connections
- Existing stains, mold, rust or damaged seals
Test landlord-provided equipment and confirm what counts as equipment
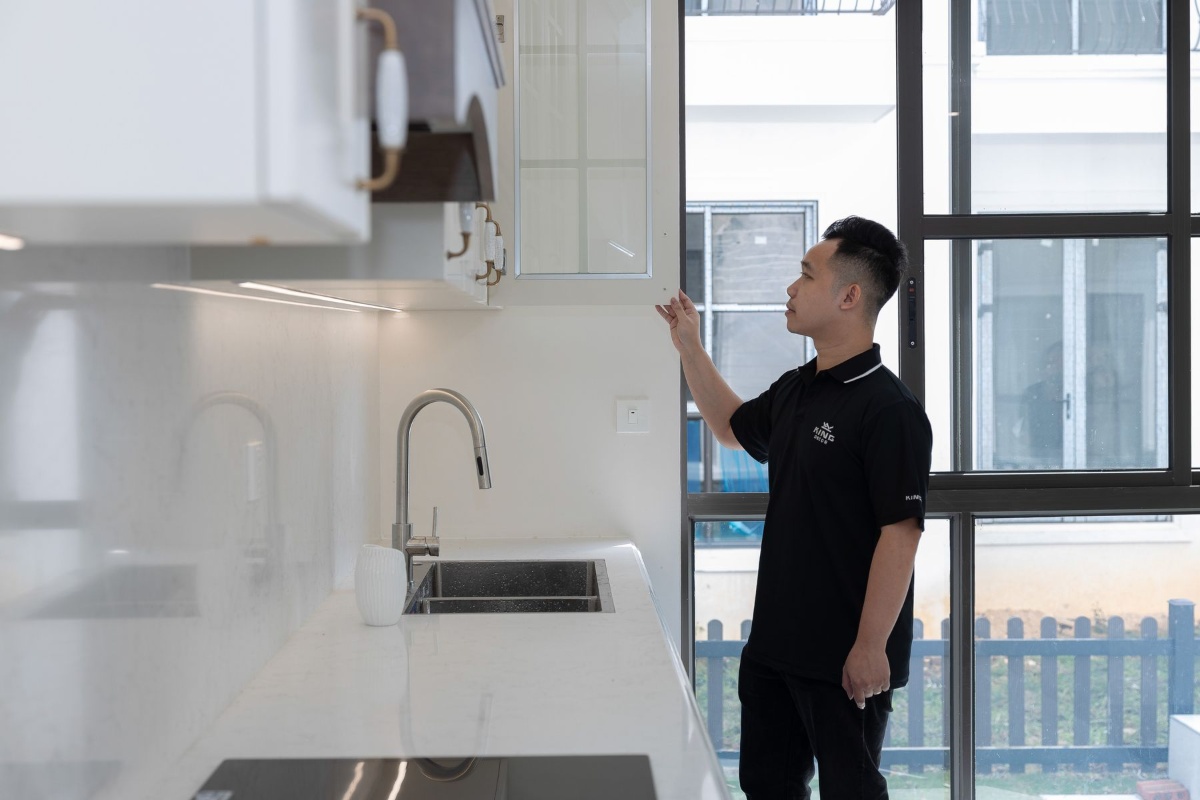
The National Consumer Affairs Center of Japan specifically advises checking installed equipment such as air conditioners when moving in. Depending on the property, safely test air conditioners, remotes, water heater controls, lights, switches, intercom, ventilation fans, built-in cooktops and other items listed as landlord-provided equipment.
Distinguish landlord-provided equipment from items left by a previous tenant as service items. Repair responsibility can differ. Use the equipment list and ask the management company in writing when the status is unclear.
Do not tamper with smoke alarms, breakers, gas equipment or other safety devices. If an installed system behaves abnormally, stop using it and report the symptoms.
- Air conditioner and remote
- Water heater and controls
- Lights and switches
- Intercom and ventilation fans
- Built-in stove or cooktop
- Built-in internet or wall ports when included
Record cleaning, pests, mold, odors and urgent hazards
A newly cleaned apartment can still have important defects. Record heavy dirt, grease, hair, food residue, smoke staining, pet odor, sewage odor, insects, droppings, mold and signs of water intrusion. If mold is connected to active moisture, surface cleaning alone may not solve the cause.
Urgent hazards should be reported immediately. These include a gas smell, sparking or burning odor, exposed wiring, active water leaks, water entering from outside, broken glass, an insecure entrance, a dangerous loose fixture or failure of an essential landlord-provided facility.
For immediate danger, prioritize personal safety and use the appropriate emergency service. For maintenance problems, notify the landlord or management company before arranging your own contractor unless the situation and contract clearly justify emergency action.
- Gas smell or suspected gas leak
- Sparking, burning smell or exposed wiring
- Active leak or overflowing drain
- Door or window that cannot be secured
- Severe mold or contamination affecting safe use
- Failure of essential supplied equipment
Submit the condition report and preserve proof
For every issue, record the room, exact location, type of damage or malfunction, approximate size, date discovered, photo or video reference, whether the item can be used safely, and whether you are requesting repair.
Send the report through the official portal, email address, app or paper process specified by the landlord, management company or agent. Ask for confirmation that it was received and added to the tenancy record.
Keep the completed checklist, sent message, delivery confirmation, original photos, video, repair requests and replies throughout the tenancy and until the final deposit or restoration settlement is complete.
- Use the required submission method and deadline
- Keep a scan or photo of every paper page you hand over
- Keep confirmation that the report was received
- Back up the original photo and video files
- Save later repair correspondence with the same inspection record
Understand normal wear, tenant damage and what to do if a dispute starts
Civil Code Article 621 excludes ordinary wear from normal use and aging deterioration from the tenant’s restoration duty and also excludes damage caused by reasons not attributable to the tenant. Contract terms and valid special clauses still matter, so review them together with the facts.
The Ministry of Land, Infrastructure, Transport and Tourism’s restoration guidelines and the Tokyo Metropolitan Government’s rental-housing guidelines provide practical standards for distinguishing ordinary wear from tenant responsibility. The National Consumer Affairs Center continues to receive many restoration-related complaints and in 2026 again advised tenants to photograph and record the property condition at move-in.
If the landlord or agent will not attend a move-in inspection, create the record yourself, send it promptly and preserve proof. Silence does not necessarily mean every statement has been accepted, but a dated systematic record is far stronger than trying to reconstruct the condition years later.
- Do not make unauthorized repairs that erase evidence
- Report developing leaks or defects as soon as they appear
- Ask for written explanations of disputed restoration charges
- Compare the lease, photos and official restoration guidance
- Use Consumer Hotline 188 when a consumer dispute cannot be resolved directly
FAQ
Should I inspect before or after the moving company arrives?
Before furniture and boxes arrive whenever possible. Empty walls and floors are easier to inspect and photograph, and existing damage is less likely to be confused with moving damage.
Are smartphone photos enough?
They can be strong evidence when they are clear, systematic, backed up and linked to a written report. Take both wide and close views and preserve the original files rather than only screenshots.
What if the management company gives me no checklist?
Create your own room-by-room checklist and send it promptly. MLIT publishes a sample move-in and move-out property-condition checklist that can be used as a reference.
Can I fix a small defect myself?
Ask the landlord or management company first. An unauthorized repair can change evidence, violate the lease or cause additional damage. Urgent safety action is different, but report it as soon as possible.
Does recording a scratch mean the landlord must repair it?
No. Recording establishes the condition and when it was reported. Whether a repair is necessary and who bears the cost depends on safety, usability, responsibility, the lease and the nature of the defect.
How long should I keep move-in inspection records?
Keep them throughout the tenancy and until the final deposit or restoration settlement after move-out is complete. A later dispute may depend on the original move-in evidence.
Official References
- Ministry of Land, Infrastructure, Transport and Tourism: Guidelines on Restoration Disputes
- Ministry of Land, Infrastructure, Transport and Tourism: Restoration Guidelines Q&A
- Ministry of Land, Infrastructure, Transport and Tourism: Rental Housing Support for Foreign Nationals
- Tokyo Metropolitan Government: Rental Housing Trouble Prevention Guidelines
- National Consumer Affairs Center of Japan: Rental Housing Restoration Trouble Alert
- Japanese Law Translation: Civil Code Article 621
Final Thoughts
A careful move-in inspection protects both daily life and the future move-out process. Inspect the empty apartment, test installed equipment safely, document every existing defect with a wide photo, close-up and exact written location, submit the report promptly, and keep proof for the entire tenancy. Report urgent hazards immediately and get permission before repairing or altering the property.